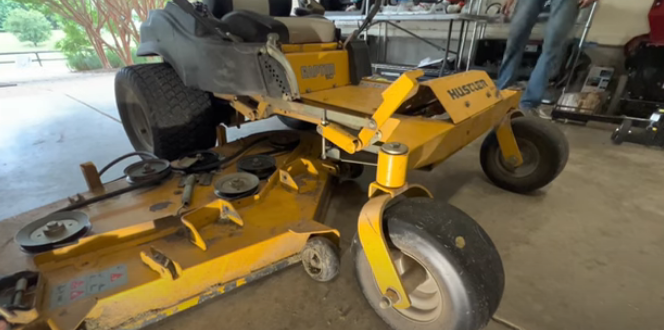
Ever thought about how to install or remove the 54 inch deck of your Hustler Raptor SD mower? Whether you are a pro or a beginner, it doesn’t matter. We have covered the easy steps of how to remove and install it with some troubleshooting tips. Let’s go through our guide which will help you a lot.
Step By Step Guide For removal and installation Of A Deck Of Hustler Raptor SD
Step 1: Preparing the Belt System:
Before changing the deck, its really important to make sure your belt system is correctly set up or not. Under your seat there is a diagram that shows how to set up the drive belt and blade belt easily. Pay extra attention to the blade belt and make sure it goes under the engine.
Troubleshooting tip:
- If the diagram needs clarification, refer to the mower’s manual for additional guidance.
Step 2: Identifying Mounting Points:
Check your mower to locate the mounting points for the deck. You will find four mounts on each side and two brackets at the front of the deck. These points are the main points to securing the deck in the proper place during installation.

Troubleshooting tip:
- Ensure all mounts are free of debris or obstruction before attempting to attach the deck.
Step 3: Using Blocks for Easier Maneuvering:
Use small blocks under the deck to lift up safely. Then use bungee cords to lift it more because bungees help to slide smoothly without scratching the ground.

Troubleshooting tip:
- Double-check the block placement and bungee tension if the deck is still challenging to slide.
Step 4: Sliding the Deck into Position:
After carefully siding the deck under the mower, align the brackets with their correct mounts. Make sure it fits tightly. If the deck is heavier then take the help of another one.

Troubleshooting tip:
- If the brackets do not align, recheck the mounting points on both the deck and the mower.
Step 5: Securing the Deck with Pins:
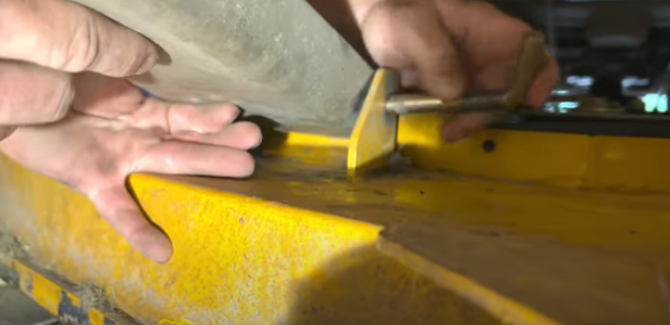
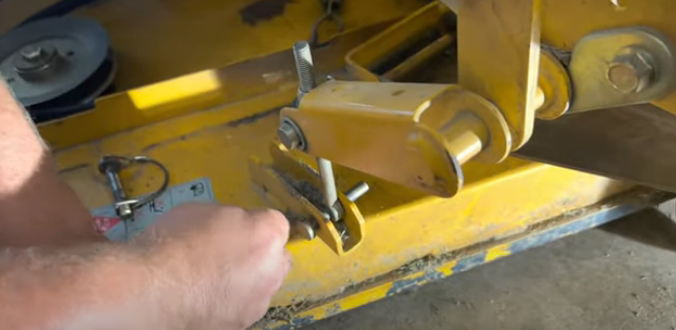
Once the deck is in place, secure it by inserting the six pins into the mounting points. This step ensures a sturdy connection between the lower deck and the zero-turn mower. It’s a simple yet critical part of the process, emphasizing the importance of a secure fit.

Troubleshooting tip:
- Inspect the pin and mounting point for any damage if a pin does not insert easily.
Step 6: Lowering the Deck:
Utilize the lowering mechanism to bring the deck down, aligning the pins with the corresponding holes. This step ensures a precise fit, setting the stage for the next crucial phase of the installation.

Troubleshooting tip:
- If the deck does not lower smoothly, check for any obstacles or misalignment in the lowering mechanism.
Step 7: Lifting the Deck into Position:
Gently lift the deck into its operational position. This step is surprisingly straightforward, with just six pins connecting it to the zero-turn mower. However, it’s recommended to have two individuals for this task due to the deck’s weight.

Troubleshooting tip:
- If lifting the deck proves challenging, verify that all pins are securely placed before attempting.
Step 8: Connecting the Belt to the Pulley:
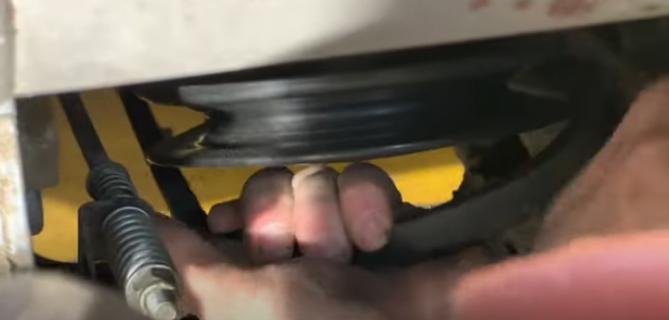
The final mechanical step involves connecting the deck belt to the pulley. Please pay attention to the pulley and ensure it’s securely fastened to the designated hook using the spring. This step is vital for proper belt tension and overall functionality.

Troubleshooting tip:
- If the belt does not fit properly, confirm it is the correct size for your mower model.
Here you can find a Hustler Raptor SD zero turn lawn mower deck belt for a 54″ deck only.
Step 9: Testing and Final Checks:
Before starting your lawnmower, make sure to check everything carefully. First, check that the belt is connected correctly. Listen for the right amount of tension, and look at the setup to make sure everything is in place. Take your mower for a short test run to make sure it feels and sounds good.
Troubleshooting tip:
- If any unusual sounds or vibrations occur during the test run, revisit the belt and pulley connections for potential issues.
Now you know about the removal and installation of a deck of Hustler Raptor SD. You can read our comprehensive buyer’s guide on zero-turn lawnmowers.
End thought:
You’ve finished assembling and installing a deck for your Hustler Raptor SD mower. By following easy steps and figuring out how to fix any issues, you’re ready to maintain your mower easily. Give yourself a thumbs up for learning this do-it-yourself task. When you go back to mowing your lawn, enjoy the smooth and hassle-free experience you’ve created for yourself.
Leave a Reply